Beginner's Checklist for Your First Backyard Night-Sky Session
The first clear night after you decide to start stargazing is often a small disappointment, and rarely because of the sky. You step out at nine, your eyes still full of kitchen light, the porch lamp blazing, your fingers cold within twenty minutes, and the star chart you printed is unreadable at arm's length. None of that is astronomy's fault. It is a problem with the ten minutes before you walked outside.
What follows is the checklist worth running through before and during a first session. Nothing on it requires a telescope, a subscription, or a drive to a dark site. A backyard, a folding chair, and a little patience will do.
Give Your Eyes Twenty Minutes Before You Judge the Sky
Dark adaptation is the single thing beginners skip, and it changes everything. Your eyes need roughly twenty to thirty minutes away from bright light before the rod cells — the ones that pick up faint light — begin to work properly, and they keep improving for an hour or more after that. A glance at a phone screen or a passing headlight can undo a good chunk of that progress in a second.
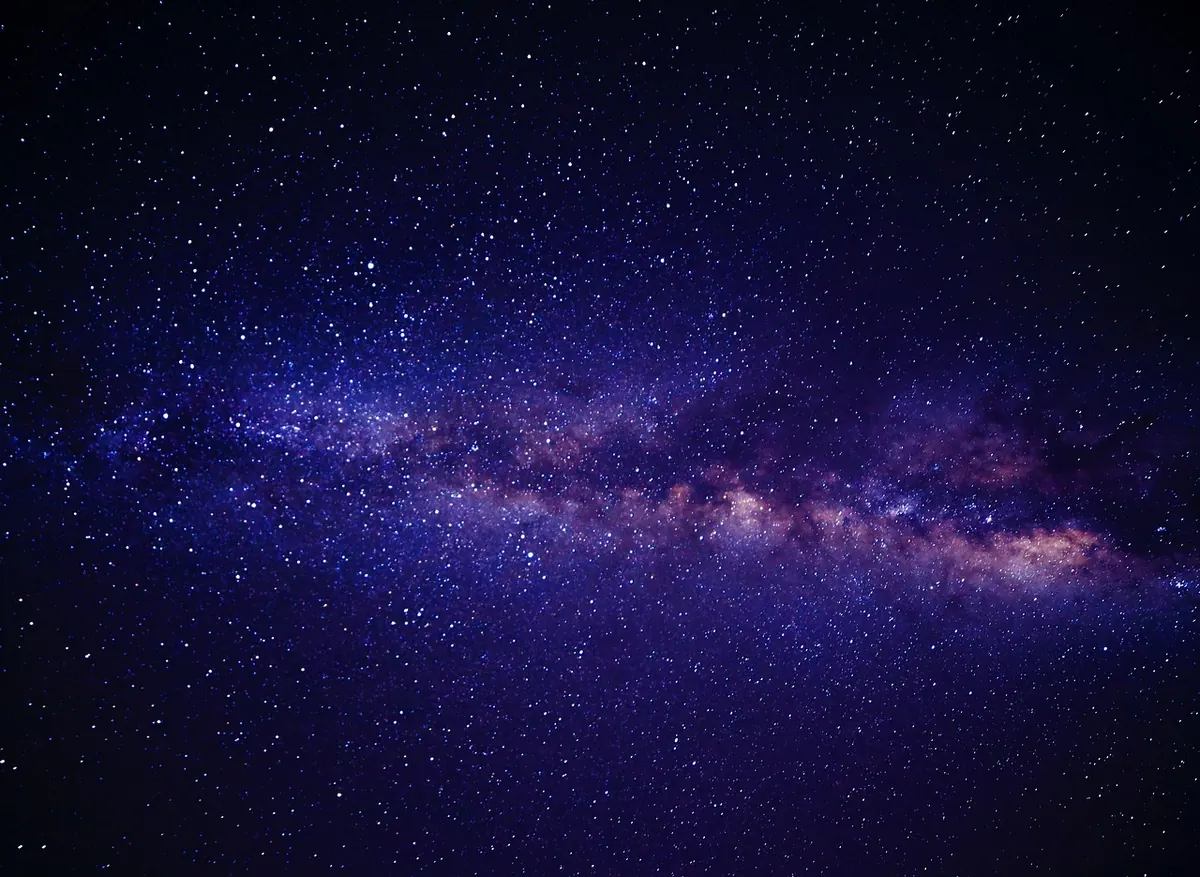
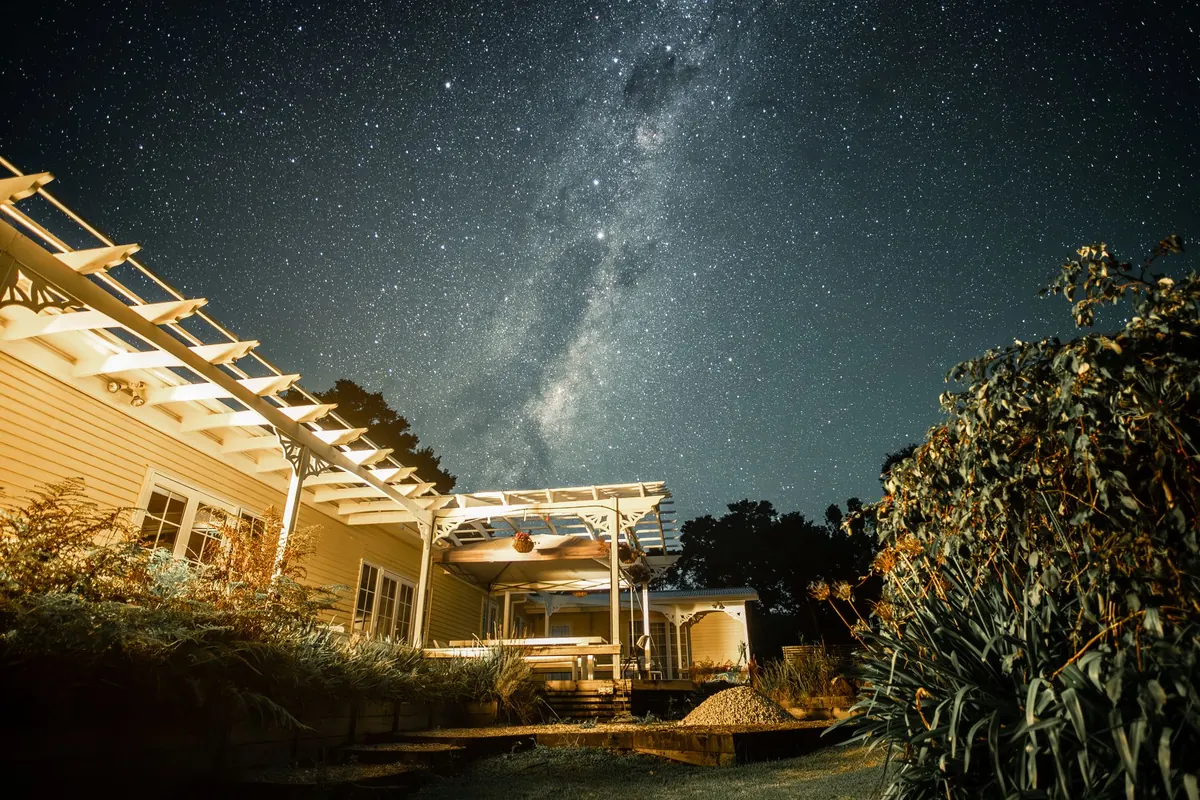
So make the waiting part of the session rather than an obstacle to it. Go out, sit down, and look at nothing in particular. Don't tidy the garden, don't check messages, don't shine a torch at the fence. After ten minutes you'll notice more stars in the same patch of sky than you did when you arrived. After half an hour, from a suburban garden, the faint band of the Milky Way may appear overhead if it's the right season and the streetlights are behind you.
Two habits help. First, keep your phone in your pocket with the screen off. Second, once you have a target, look slightly to the side of it rather than straight at it — averted vision uses the more light-sensitive part of your retina, and it genuinely makes dim objects easier to see.
Red Light Only, and Dimmer Than You Think
White light resets your night vision; red light, kept faint, mostly doesn't. That's the whole reason astronomers use it. You don't need anything specialist — a small red headlamp, or an ordinary torch with a red filter or a couple of layers of red cellophane over the lens, is enough.
The mistake is brightness. A red lamp at full power is still bright enough to ruin your eyes for several minutes. Tape over part of the lens if you have to, and aim the beam at the chart, not across the garden. Before you go out, test it: can you read a printed page at arm's length without squinting or feeling like you're staring into a light? That's about right.
Do a quick audit of the light around you, too. Porch lamps, security floods, a neighbour's sensor light triggered by a cat. Turn off what you control, and position your chair so the brightest remaining lamp is behind you or blocked by a wall or hedge.
Charts, Apps, and a Short Target List
A planisphere — the rotating cardboard kind — is still the most reliable tool for a beginner, because it shows the whole sky for your date and time without a battery. Printed charts and a simple monthly sky guide work well alongside it. Phone apps are fine, provided you set them to red or night mode and turn the brightness right down.
What matters more than the chart is restraint. Don't arrive with a list of forty objects. Learn two or three constellations well enough to point at them without checking, and choose three to five targets for the evening. A short list you actually finish feels far better than a long one you abandon in the cold.
Dress for Standing Still, Not for Walking
Stargazing is sitting or standing almost motionless for an hour or two, which is much colder than the same weather spent walking. Take the forecast temperature and dress for something noticeably colder. Layers beat one thick coat, because you can adjust as the night goes on.
- A hat and a scarf — most heat loss happens at the head and neck.
- Two pairs of socks and boots, not trainers.
- Gloves, ideally thin enough to pick up a chart or focus a binocular.
- A blanket, even in summer, for legs and shoulders.
- A flask of something hot; it buys you twenty extra minutes.
Cold is the most common reason a first session ends early — and the easiest problem on this list to fix.
In summer the enemy changes: mosquitoes, dew, and the temptation to stay out in a t-shirt. Long sleeves and a repellent you already know you tolerate will do more for the evening than any accessory.
Keep the Kit Small
A first session should fit in one trip from the kitchen. Beyond warm clothes and a red light, this is roughly the full inventory worth carrying:
- A red headlamp or filtered torch, plus spare batteries.
- A planisphere or printed chart, and a pencil and small notebook.
- A folding chair, or a blanket and a groundsheet.
- Binoculars, if you have them — 7x50 or 10x50 are the classic beginner sizes, easy to hold and bright enough to be encouraging.
- A small table or upturned crate to keep charts off the damp grass.
- A flask, a spare layer, and insect repellent in season.
If you're using binoculars, brace your elbows on your knees or rest them on a fence post; the shake you get holding them freehand hides more than it shows. Find things with your naked eye first, then bring the binoculars up without moving your head. And don't expect Hubble views — the reward is seeing the four brightest moons of Jupiter as tiny points, or a cluster resolving into a sprinkle of faint stars.
A Simple Running Order for the Evening
- Check the forecast and the Moon. A bright Moon washes out faint objects, so plan around it rather than being surprised by it.
- Set up before dark if you can — chair, chart, table, layers within reach.
- Switch off what outside lights you control and let the household know you'll be in the garden.
- Sit in the dark for twenty minutes without doing anything useful.
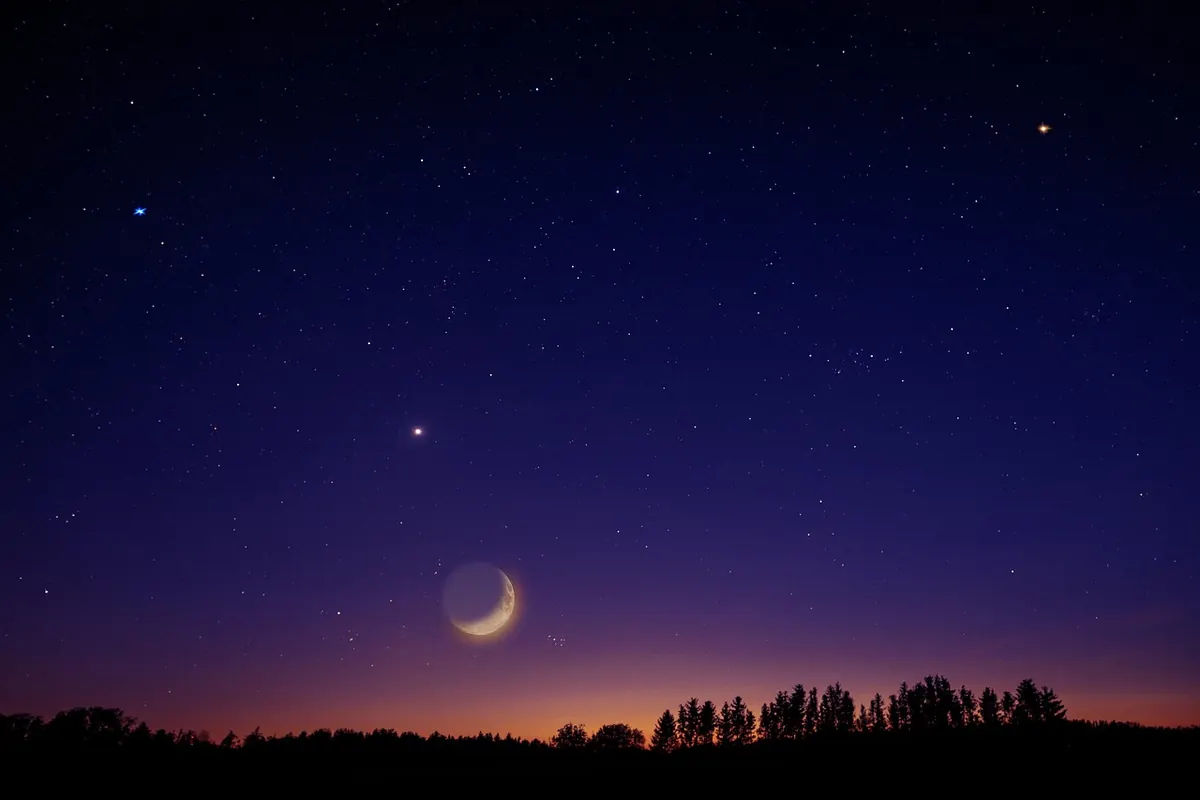
- Start with something obvious: the Moon if it's up, or a bright, easy constellation for the season.
- Move to your two or three chosen targets, using averted vision and the binoculars.
- Write down what you saw and what you couldn't find. Notes from a first night are surprisingly useful a month later.
- Stop when you get cold. Ending twenty minutes early on a good note beats staying until you're miserable.
If It Doesn't Go to Plan
Clouds arrive, dew fogs the chart, nothing you aimed at turns out to be where you expected. That is a normal first session, not a failed one. Keep the notebook entries anyway, even the frustrating ones — pattern-spotting over a few weeks is how most people actually learn the sky.
Then go back out on the next clear night and repeat the routine: lights off, twenty minutes of nothing, red torch only, three targets, warm socks. The checklist stops being a checklist after a while and just becomes how you go outside. That's the point at which stargazing starts to feel less like an expedition and more like an ordinary, welcome part of the evening.
Photo: Guillaume Meurice / Pexels